Developing guide
This guide will provide instructions to install the development environment needed to compile and debug the demo firmware of the Sensor Node Lora. The development system is multiplatform, it supports Windows and Linux. This guide is written using Windows. The main steps are:
- Install Kinetis Design Studio 3.2.0, upgrade it and install KSDK 1.3.0
- Import build & debug the source project
Hardware required:
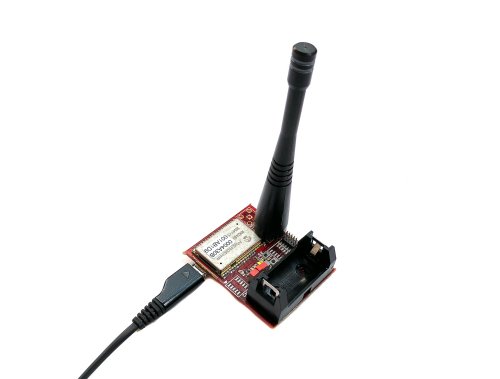
- Sensor Node Lora with battery or Mini-USB cable
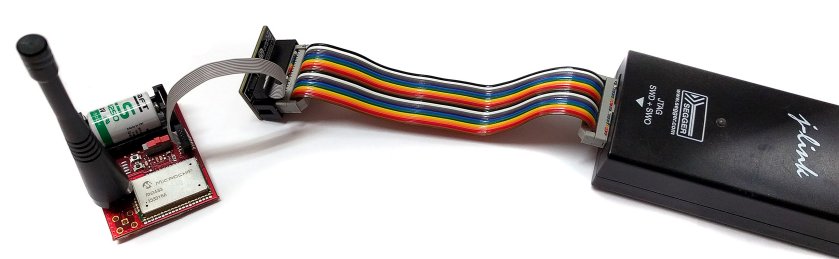
- if you don’t use Mini-USB cable Segger it is required a J-Link (Segger website) with SWD debug interface.
- PC with Windows or Linux
Install & Update Kinetis Design Studio
- First up, register at the NXP website registration form
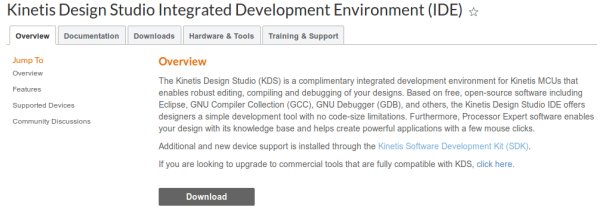
- Download the IDE from this page. Clicking on Download button.
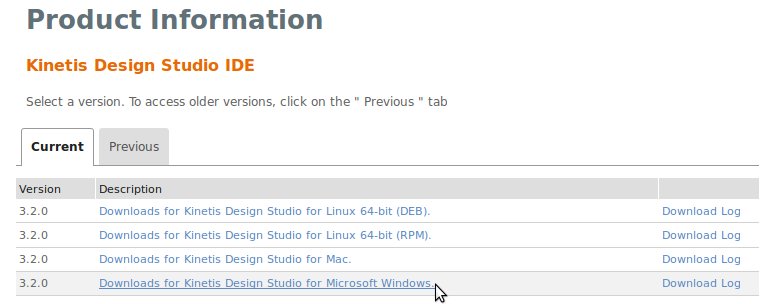
- Click on Downloads for Kinetis Design Studio for Microsoft Windows.
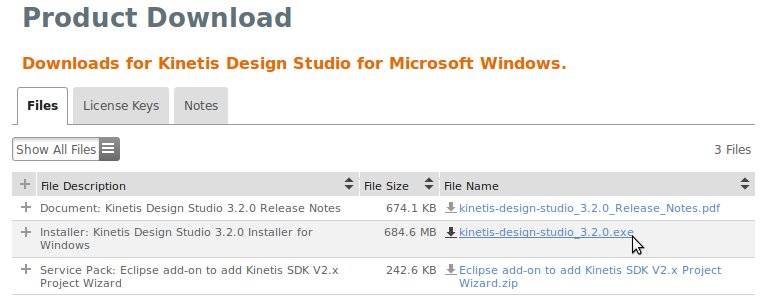
- Agree the terms and download the file Installer: Kinetis Design Studio 3.2.0 Installer for Windows.
- Next, launch the downloaded file kinetis-design-studio_3.2.0.exe following all the default options.
- Launch the KDS and select a directory for the workspace. Our project will be imported in this folder. In this guide we used this path:

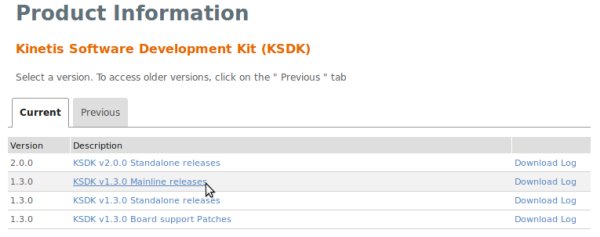
- At this point, if you want to modify the project using processor expert it is required to install also the package KSDK 1.3.0 in order to be compatible with the project. You can find this package on KINETIS-SDK page. Select Download button from Kinetis SDK.
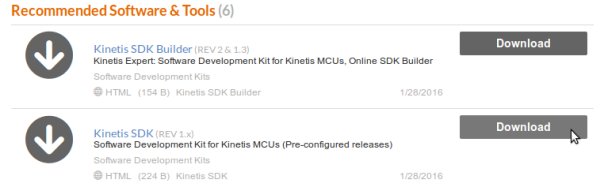
- Select KSDK v1.3.0 Mainline releases
- Agree the terms and then download Kinetis SDK 1.3.0 Mainline - Windows.exe
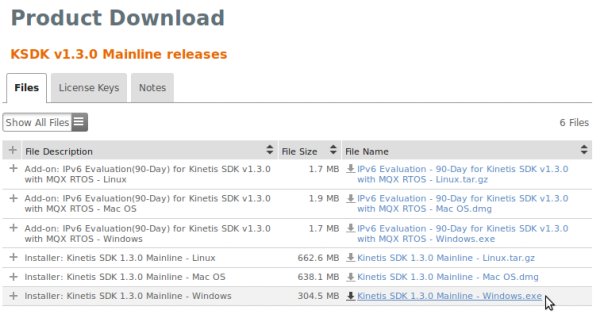
- Install it following all the default options, it will be installed into C:\Freescale\KSDK_1.3.0
- Now launch KDS 3.2.0
- Select Help -> Install New Software
- Click on Add... button
- Then click on Archive button
- Now select from C:\Freescale\KSDK_1.3.0\tools\eclipse_update the file KSDK_1.3.0_Eclipse_Update
- Select the package KSDK 1.3.0 Eclipse Update
- Continue with the wizard. Accept the license agreement during the installation process.
- Restart KDS
Now you are ready to import the project in your KDS.
Import Project
- Download the project 1083_SW_BAEVTSS002_REL5b.zip.
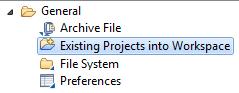
- Then go to File->Import and select Existing Projects into Workspace.
- Browse to the zip file containing the project and select the project.
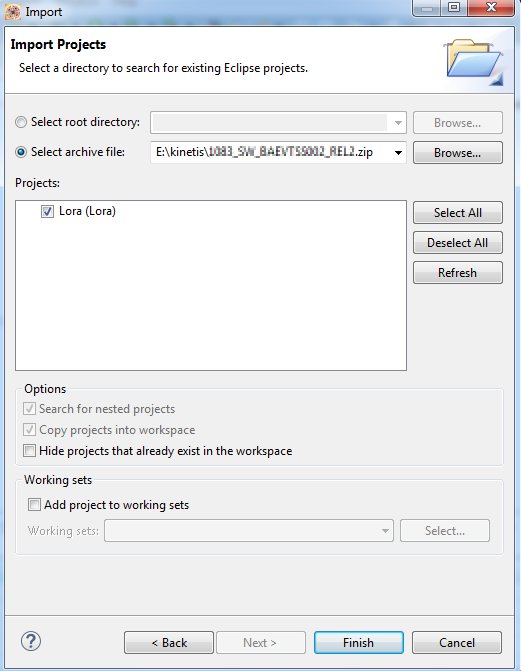
- Press on Finish. Now you are ready to build and debug it. There are two ways to debug the board, the easiest is debug it via USB.
Build & Debug via USB
With the Mini-USB connector you are able to use OpenOCD inteface. It is necessary to install the mbed serial port driver.
- Go to the mbed website
- Download the lastest mbed serial port driver, it is named as mbedWinSerial.
- Install the driver.
- After the installation, connect the lora-node board to the PC via the CN2 connector.
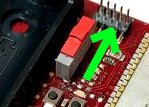
- Turn On the board switching the SW1 as in figure.
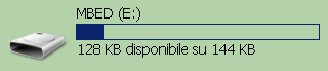
- Windows will recognize it as a MBED mass storage device.
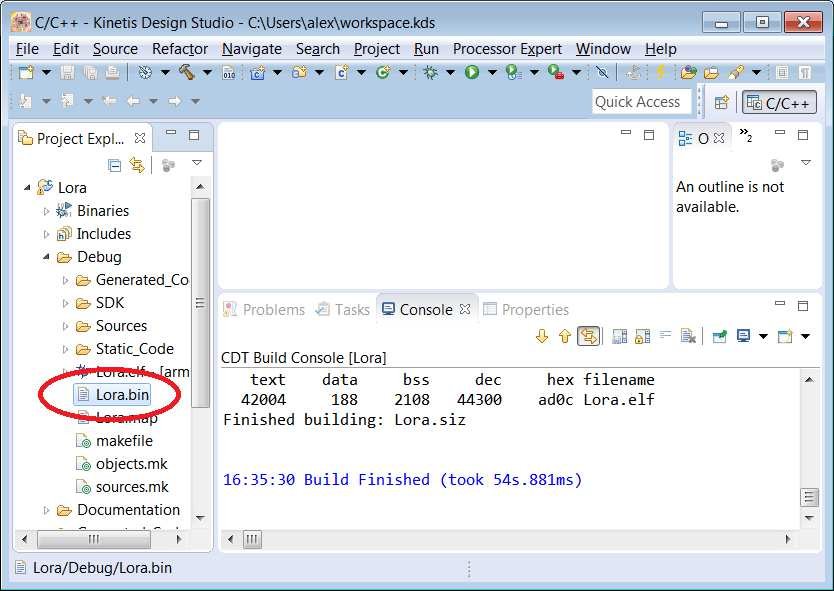
- On the KDS from the menu click on Project->Build All, to compile the entire project.
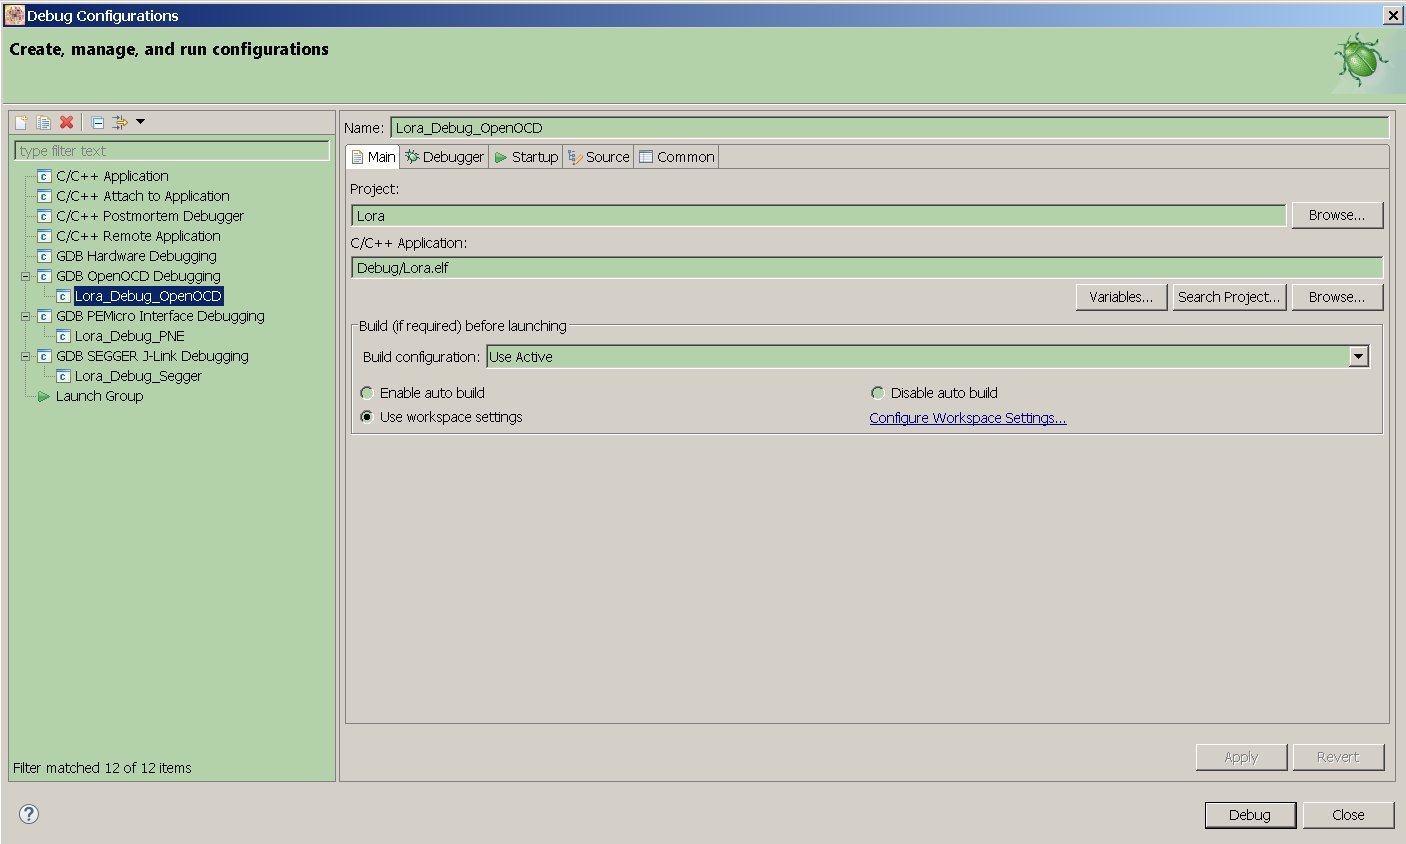
- Then click on Run->Debug Confiuration->Lora_Debug_OpenOCD.
- Clicking on Debug button the debug will start entering on the first line code of the main() function.

Warning
- Due some problem with KDS, sometimes you have to launch the debug twice before the KDS will run the debug correctly.
- During the debug session the sleeping mode doesn’t work.
Build & Debug via SWD
- Go to Project->Build All, to compile the entire project. In order to debug it connect the J-Link to the connector CN4.
Note
Connector CN4 is not fitted on the lora-node board. It is a connector SMD MALE STRIP 2x5 P1.27mm. You have to fit it in order to debug the board via SWD.
- The used debug interface is SWD. Then turn on the board switching the SW1.
- Always on the KDS click on Run->Debug Confiuration->GDB Segger J-Link Debug.
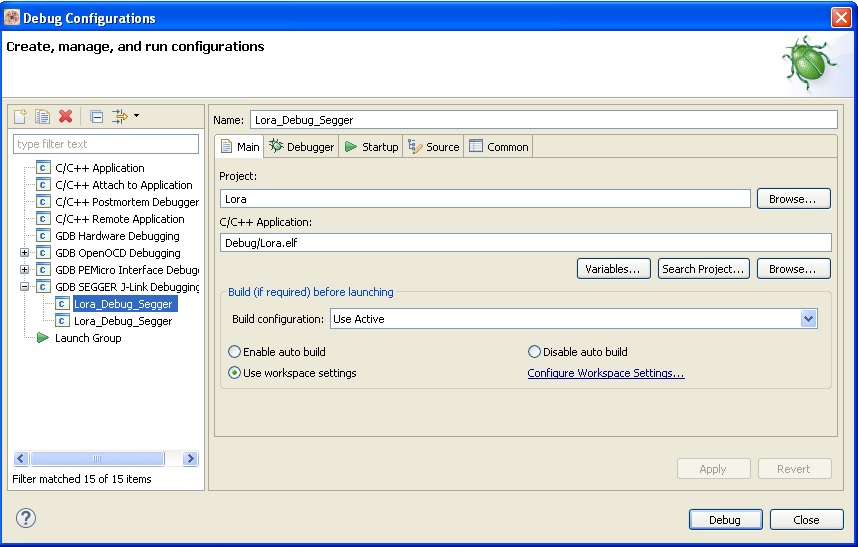
- Clicking on Debug button the debug will start entering on the first line code of the main() function. During the debug session the sleeping mode doesn’t work.
Reset Factory
From the release 1.4 you can reset the RN module throught the menu. Follow the next steps:
- Download the file Lora_v15b.bin.zip and unzip it
- Connect the board from your PC to the board via micro-USB cable. Open the MBED mass storage.
- Copy the Lora_v15b.bin file into the MBED mass storage
- The Green led on the board will flash while the file is programmed into the device flash memory.
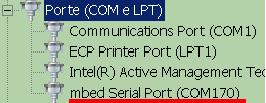
- Now we have to connect a terminal to the Serial Com. First step, find which number is, going to “Device Manager” and finding the node called “Ports (COM and LPT)”. In this example the number port is 170.
- Open a terminal like putty, you can find it here. Launch it and set the properties signed in red in the figures:
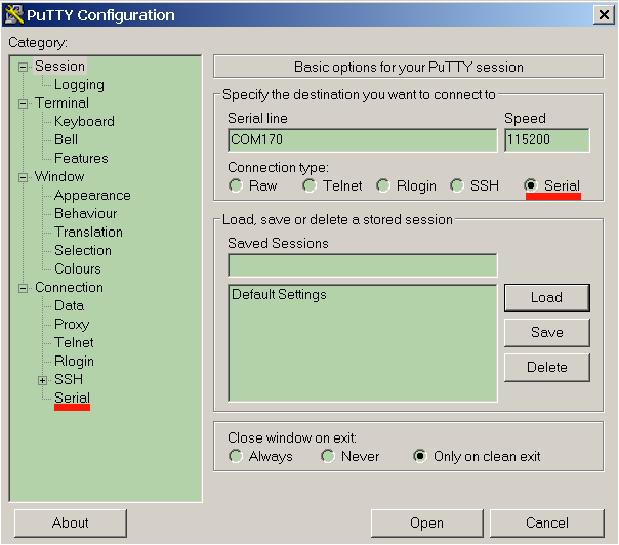
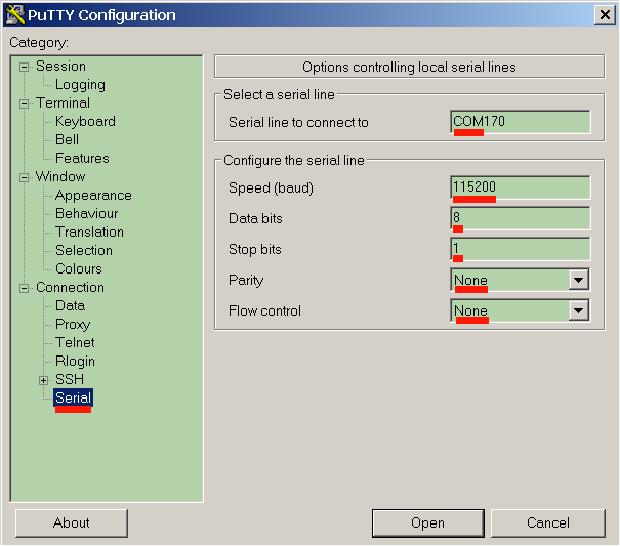
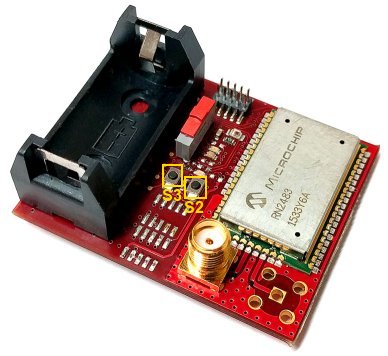
- Press the Open button. Now reset the board pressing S3.
- On the putty console you will see the starting boot text:
BAEVTSS002 firmware version 1.5b
RN2483 1.0.1 Dec 15 2015 09:38:06
- Keeping the S2 button pressed you will see after some seconds the text Please release the button S2. Will be displayed a menu like this one:
*** MENU CONFIG RN2483 ***
Enter 0 to print this menu
Enter 1 to see values in DEVEUI and DEVADDR registers
Enter 2 to modify DEVEUI
Enter 3 to modify DEVADDR
Enter 4 to modify APPSKEY
Enter 5 to modify NWKSKEY
Enter 6 to save changes
Enter 7 to Microchip default reset
Enter 8 to Avnet default reset
Enter 9 to exit
- From the menu press the key 8 referred to Enter 8 to Avnet default reset. During the reset will be showed:
Starting Avnet default reset, please don't turnoff the board
- Wait until will be showed the message success.
- Now if you have to set correctly the DEVADDR register, see the paragraph Update firmware in Quick start guide for firmware 1.4 or major
Note
with the sources you can build the firmware 1.5b. You can generate the bin file to copy in the mass storage simpy using the Lora.bin
Processor Expert
The Kinetis software development kit (KSDK) is an extensive suite of robust hardware interface and hardware abstraction layers, peripheral drivers, RTOS abstractions, stacks, and middleware designed to simplify and accelerate application development on Freescale Kinetis MCUs. The addition of Processor Expert technology for software and board configuration provides unmatched ease of use and flexibility. Included in the Kinetis SDK is full source code under a permissive open-source license for all hardware abstraction and peripheral driver software. Mainline releases include support for a collection of Kinetis MCUs, whereas standalone releases offer support for one or a few additional Kinetis MCUs only. For details read KSDK page.